
There’s something magical about summer days when you want to cool down but still crave the rich taste of coffee. As a self-proclaimed coffee lover and home cook, I’ve always searched for ways to combine my fondness for beverages with the lingering warmth of the sun. Enter the Coffee Snow Cone: a refreshing twist on your traditional icy treat that intrigues the palate and quenches the thirst for something caffeinated and cool.
Recipe Timing
- Prep Duration: 10 minutes
- Active Cooking: None, the coffee just needs to cool
- Total Duration: 20 minutes
- Portion Size: Serves 1
- Complexity: Simple
Nutritional Recipe
- Calories per portion: Approximately 230 calories
- Protein: 3 grams
- Carbs: 40 grams
- Fats: 5 grams
- Fiber: 0 grams
- Sugars: 30 grams
- Sodium: 20 mg
Why You’ll Love This Coffee Snow Cone
Imagine a sultry afternoon when the sun is high and your coffee cup is starting to feel more like hot lava than a refreshing drink. The Coffee Snow Cone is not just a dessert; it transforms your regular brewed coffee into a fun and nostalgic treat. This recipe combines creamy, sweet flavors with the robust taste of coffee, all while providing a delightful icy texture that brings joy to any warm day. It’s simple yet satisfying, whether you’re relaxing on the porch or hosting friends for a casual get-together.
The Complete Cooking Journey
Creating this delightful treat is all about feeling that rush of coolness and flavor. From brewing your favorite coffee to transforming ordinary ice into a luxurious dessert, each step is a celebration of the little things that bring us joy—like indulging in creamy sweetness against a backdrop of crisp ice. No need for fancy tools or complicated processes; the essence lies in savoring the moment as you create.
Ingredients
- 1 cup brewed coffee, chilled
- 1 cup ice, crushed
- 2 tablespoons sweetened condensed milk
- 1 tablespoon coffee syrup or chocolate syrup (optional)
- Whipped cream (optional, for topping)
Method:
### Step 1: Brew Your Coffee
Brew your favorite coffee and let it cool completely. This is key to achieving that refreshing flavor you desire!
### Step 2: Crush the Ice
Using an ice crusher or a blender, crush a cup of ice until it’s the perfect fluffy texture for your snow cone.
### Step 3: Assemble the Base
In a serving bowl, place the crushed ice, creating a fluffy mountain ready for that rich coffee bath.
### Step 4: Pour the Coffee
Next, pour the chilled coffee over the ice, watching as it seeps into all those nooks and crannies.
### Step 5: Drizzle on the Goodness
Time for the sweet stuff! Drizzle two tablespoons of sweetened condensed milk and, if you’re feeling adventurous, a tablespoon of coffee or chocolate syrup over the top.
### Step 6: Top it Off
For a finishing touch, add a generous dollop of whipped cream if desired.
### Step 7: Serve Immediately
Grab a spoon and dive in right away for the ultimate experience of flavors and textures.
Serving Suggestions & Pairings
This Coffee Snow Cone is perfect as a standalone treat, but for an elevated experience, pair it with a slice of homemade chocolate cake or a buttery pastry. Feeling adventurous? Serve it alongside a scoop of vanilla ice cream for an indulgent dessert that blends the best of both worlds!
Storage & Leftovers Guide
While this treat is best enjoyed fresh, you can store any leftover components separately in the refrigerator. The coffee can last up to 2 days when sealed in an airtight container, but the crushed ice loses its tantalizing texture after a bit, so use it immediately for the best experience.
Kitchen Wisdom & Success Tips
- Choose your coffee wisely: Opt for a coffee that you enjoy drinking hot; the flavor remains as the base for your treat.
- Experiment with flavors: Feel free to substitute sweetened condensed milk with flavored syrups like caramel or hazelnut.
- Crush ice properly: For best results, aim for a fine to medium texture in your ice – too chunky could hinder the flavor absorption!
Flavor Variations & Adaptations
Why stop at coffee? You can easily switch up the flavors to match your cravings! Try using matcha for a green tea snow cone, or infuse berry syrups to give your icy treat a fruity twist. The possibilities are endless!
Reader Questions & Solutions
- Can I use decaf coffee? Absolutely! For those avoiding caffeine, decaf coffee will provide the same delicious flavor.
- What if I don’t have sweetened condensed milk? You can substitute it with regular milk and a touch of sugar, or use a plant-based alternative as desired.
- Is it possible to make this in advance? While the coffee can be brewed ahead, the ice needs to be fresh. Prepare before serving for the best texture.
- How can I make this vegan? Swap the sweetened condensed milk for coconut milk or another plant-based alternative, and avoid the whipped cream.
- What’s the best method for crushing ice? While a blender can work, an ice crusher specifically designed for snow cones can create the ideal texture!
Wrapping Up
There you have it! A delightful treat that’s not only refreshing but embraces the love of coffee in every scoop. The Coffee Snow Cone is a testament to the joys of summer and perfect for any coffee lover seeking a fun way to enjoy caffeine. So go ahead, gather your ingredients, and relish the moment as you indulge in this tantalizing treat! Here’s to sunny notifications and flavorful adventures ahead with each delicious bite.
PrintCoffee Snow Cone

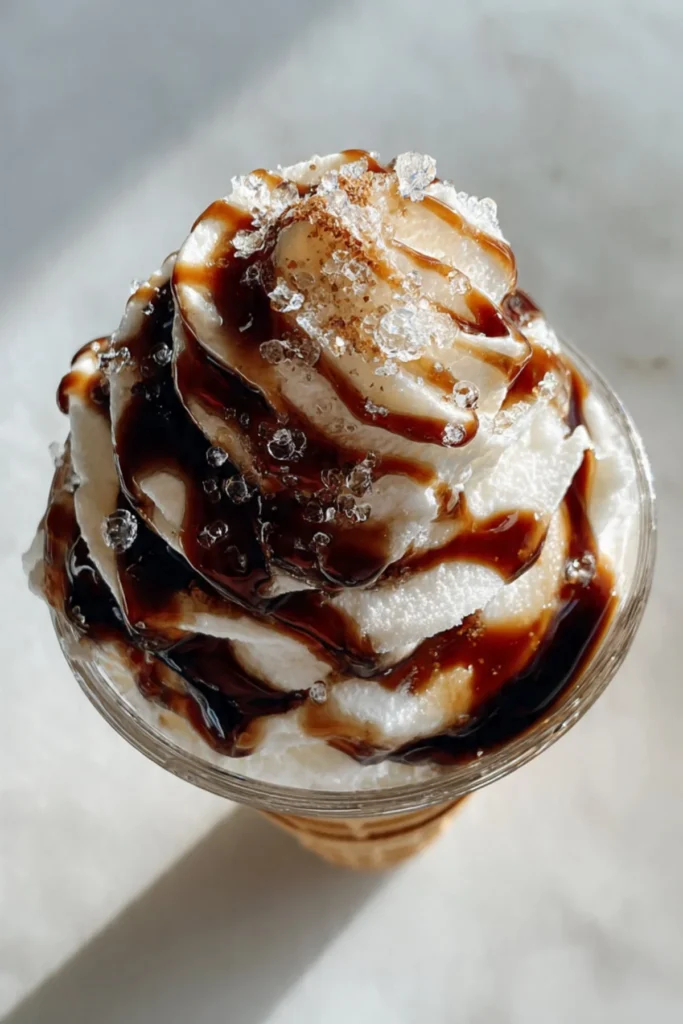
A refreshing twist on your traditional icy treat that combines the rich taste of coffee with a delightful icy texture.
- Prep Time: 10
- Total Time: 20
- Yield: 1 serving 1x
- Category: Dessert
- Method: No-Cook
- Cuisine: American
- Diet: Vegetarian
Ingredients
- 1 cup brewed coffee, chilled
- 1 cup ice, crushed
- 2 tablespoons sweetened condensed milk
- 1 tablespoon coffee syrup or chocolate syrup (optional)
- Whipped cream (optional, for topping)
Instructions
- Brew your favorite coffee and let it cool completely.
- Crush a cup of ice until it’s fluffy.
- In a serving bowl, place the crushed ice.
- Pour the chilled coffee over the ice.
- Drizzle sweetened condensed milk and optional syrup over the top.
- Add whipped cream if desired.
- Serve immediately with a spoon.
Notes
Best enjoyed fresh, but leftover components can be stored separately for up to 2 days.
Nutrition
- Serving Size: 1 serving
- Calories: 230
- Sugar: 30g
- Sodium: 20mg
- Fat: 5g
- Saturated Fat: 2g
- Unsaturated Fat: 3g
- Trans Fat: 0g
- Carbohydrates: 40g
- Fiber: 0g
- Protein: 3g
- Cholesterol: 5mg


