
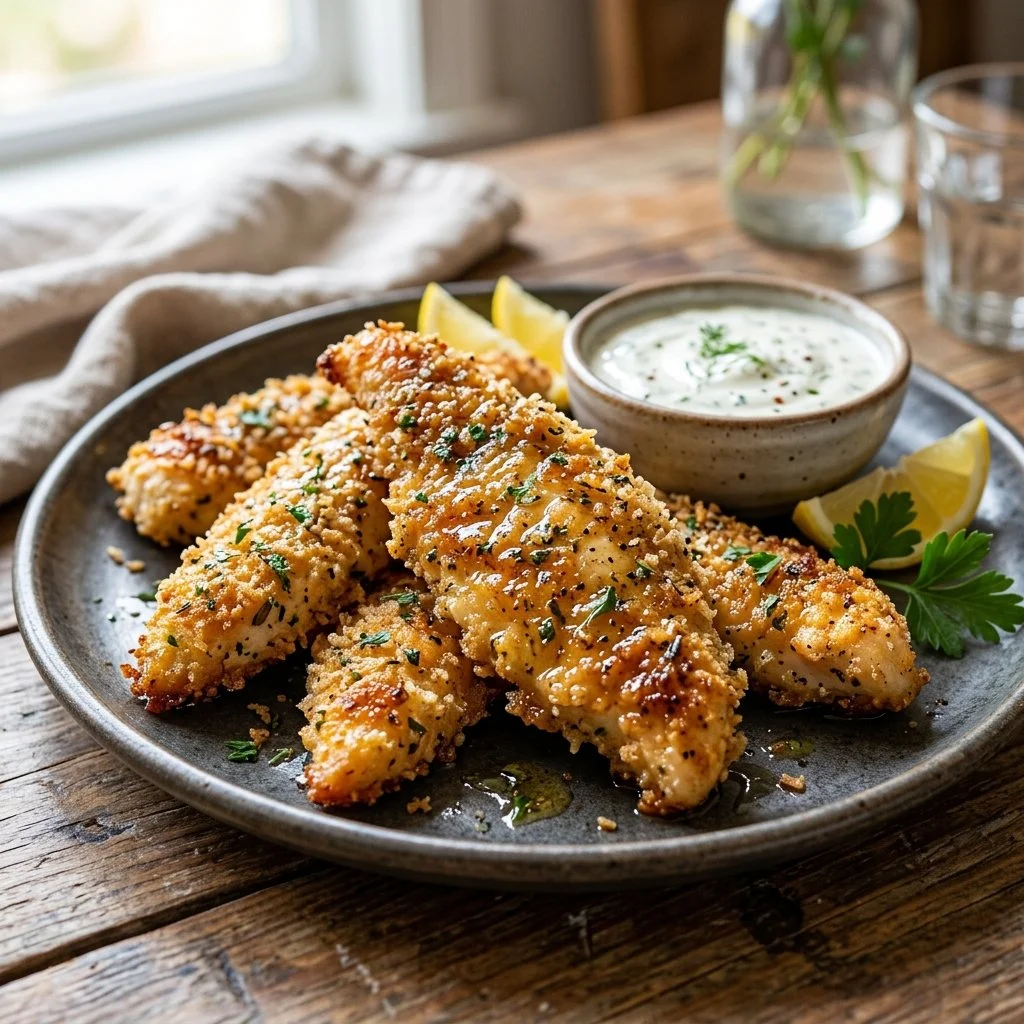
There’s something incredibly comforting about homemade chicken tenders. The crispy goodness that you can achieve with just a few simple ingredients feels nostalgic, reminding me of weekends spent in the kitchen with my family. As kids, my siblings and I would fight over who got to dip their tenders in the tangy sauce, savoring every crunchy bite. But as an adult, I know the importance of a healthier twist on those beloved flavors. That’s why I’m thrilled to share my recipe for Healthy Chicken Tenders. Not only are they a guilt-free indulgence, but they’re also a breeze to whip up, making weeknight dinners a delight instead of a chore.
Recipe Timing
- Prep Duration: 15 minutes
- Active Cooking: 25 minutes
- Total Duration: 40 minutes
- Portion Size: Serves 4
- Complexity: Simple
Nutritional Recipe
- Calories per portion: 227
- Protein: 32g
- Carbs: 14g
- Fats: 8g
- Fiber: 2g
- Sugars: 1g
- Sodium: 430mg
Why You’ll Love This Healthy Chicken Tenders
These Healthy Chicken Tenders are your perfect go-to for a satisfying meal that doesn’t skimp on flavor. With a golden, crunchy crust made from whole wheat bread crumbs and the savory kick from Parmesan cheese and spices, you’ll be hard-pressed to remember these aren’t your regular restaurant-style tenders. They’re baked, not fried, so you can enjoy them without the heaviness. Plus, they come together in just a few simple steps—ideal for busy weekdays or a casual family dinner!
The Complete Cooking Journey
Let me walk you through the journey of creating these crispy delights. Picture yourself in your kitchen: the oven preheating, a bowl of fragrant spices at your side, and the rich aroma of baked chicken wafting through your home. This recipe isn’t just about food; it’s about gathering around the table, sharing stories, and enjoying moments together. So, let’s dive into the deliciousness!
Ingredients:
- 1 pound chicken breast, cut into strips
- 1 cup whole wheat bread crumbs
- 1/2 cup grated Parmesan cheese
- 1 teaspoon garlic powder
- 1 teaspoon onion powder
- 1 teaspoon paprika
- Salt and pepper to taste
- 2 eggs, beaten
- 1 tablespoon olive oil
Method:
Step 1: Preheat the Oven
Preheat your oven to 400°F (200°C). This initial step is crucial for achieving that perfect crispiness on your chicken tenders.
Step 2: Combine Dry Ingredients
In a large bowl, mix together the whole wheat bread crumbs, Parmesan cheese, garlic powder, onion powder, paprika, salt, and pepper. This mixture will create the delightful coating for your chicken that adds both texture and flavor.
Step 3: Prepare the Chicken
Dip each chicken strip into the beaten eggs, ensuring they are completely coated. This step helps the breading stick nicely and brings moisture to the tenders.
Step 4: Coat the Chicken
After dipping in the eggs, generously coat the chicken strips in the bread crumb mixture. Give them a little shake to remove excess coating and make sure they’re evenly covered.
Step 5: Arrange on Baking Sheet
Place the coated chicken tenders on a baking sheet lined with parchment paper. Spacing them out will help every piece bake evenly and get that lovely golden color.
Step 6: Drizzle with Olive Oil
Using a drizzle of olive oil, coat the chicken tenders lightly. This step enhances the browning process and adds a touch of healthy fats without overpowering the flavors.
Step 7: Bake to Perfection
Bake in the preheated oven for 20-25 minutes, or until the chicken is cooked through and golden brown. Keep an eye on them during the last few minutes to ensure perfect crispness without overcooking.
Serving Suggestions & Pairings
Serve your Healthy Chicken Tenders hot from the oven with a fresh side salad or some crispy veggies. They also pair beautifully with homemade dipping sauces like honey mustard, marinara, or a zesty yogurt ranch. For a heartier option, consider piling them onto whole-grain sliders or wrapping them in lettuce for a tasty twist!
Storage & Leftovers Guide
These healthy tenders can be stored in an airtight container in the refrigerator for up to 3 days. Reheat in the oven to preserve their crispy texture, becoming the perfect afternoon snack or quick lunch option.
Kitchen Wisdom & Success Tips
- Always preheat: Starting with a hot oven ensures better cooking and crispening.
- Use parchment paper: This prevents sticking and makes cleanup a breeze.
- Experiment with spices: Feel free to add your favorite herbs or spices to the breading for a personal touch.
Flavor Variations & Adaptations
Try adding cayenne pepper for a spicy kick or swap out the Parmesan for nutritional yeast for a dairy-free alternative. For an even crunchier texture, consider adding crushed nuts to your breadcrumb mixture!
Reader Questions & Solutions
-
Question: Can I use chicken thighs instead of breast?
Answer: Absolutely! Just adjust the cooking time as thighs typically require a little longer to cook through. -
Question: How can I make these gluten-free?
Answer: Use gluten-free breadcrumbs and ensure any condiments you serve are also gluten-free. -
Question: Can I fry these instead of bake?
Answer: Yes, for a traditional take, you can pan-fry them in oil until crispy. Just remember to keep an eye on the heat to avoid burning. -
Question: How do I know when the chicken is done?
Answer: Use a meat thermometer; chicken should reach an internal temperature of 165°F (75°C). -
Question: Can these be made in advance?
Answer: Certainly! You can coat the chicken and refrigerate it for a few hours before baking.
Wrapping Up
And there you have it—crispy, healthy chicken tenders that are sure to become a beloved staple in your kitchen. This recipe isn’t just about satisfying hunger; it’s about enjoying the art of cooking, making memories with loved ones, and nurturing our bodies. So grab your ingredients, gather around the oven, and let the smell of freshly baked tenders fill your home. Happy cooking!