
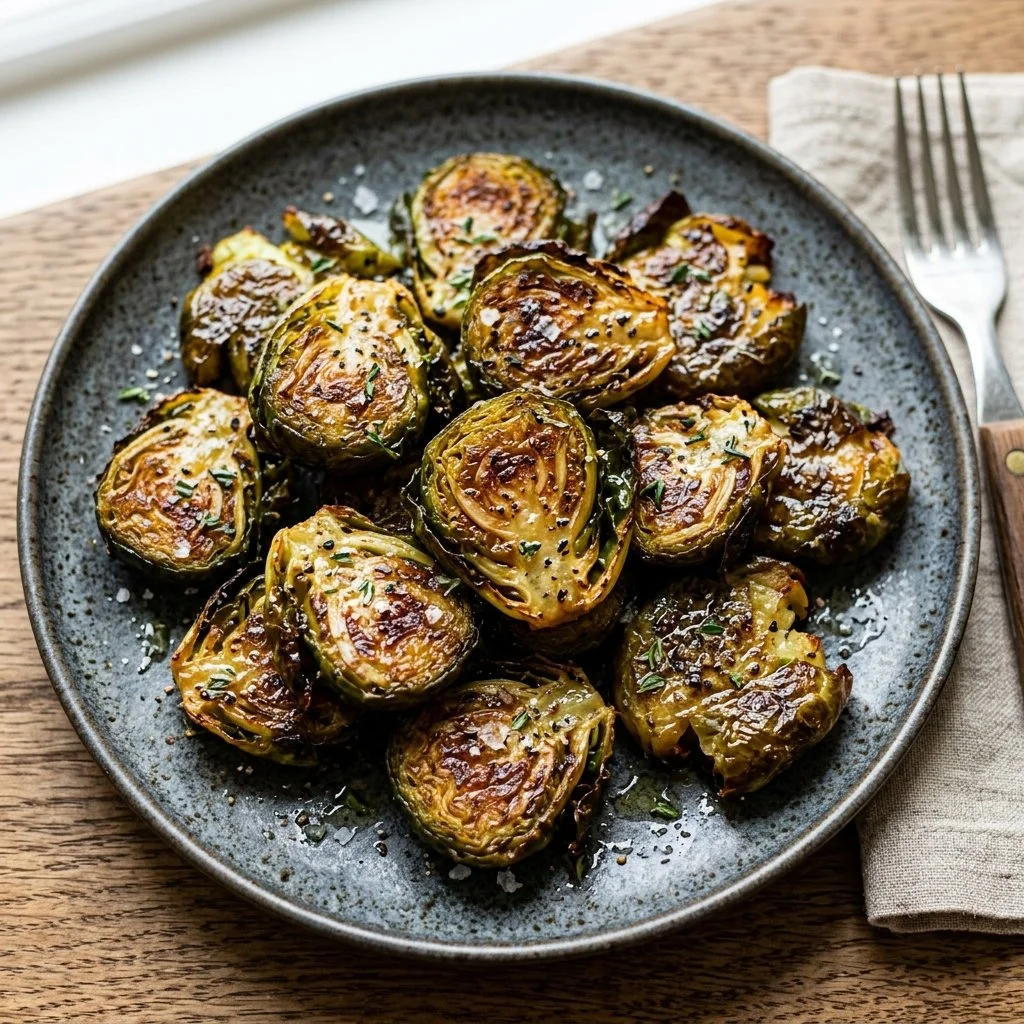
Smashed Brussels Sprouts have become one of those recipes that I find myself returning to time and time again. There’s something so satisfying about crisping up these little green gems in the oven until they are beautifully caramelized and begging to be devoured. This simple dish has a way of transforming Brussels sprouts from a misunderstood side to the star of the dinner table. I still remember the first time I made them for my family—everyone, even my vegetable-skeptical uncle, couldn’t resist going back for seconds. If you haven’t yet ventured into the realm of smashed Brussels sprouts, allow me to inspire you to give them a whirl. Trust me; you’ll be glad you did!
Recipe Timing
- Prep Duration: 15 minutes
- Active Cooking: 25 minutes
- Total Duration: 40 minutes
- Portion Size: Serves 4
- Complexity: Simple
Nutritional Recipe
- Calories per portion: Approximately 200
- Protein: 6g per serving
- Carbs: 14g per serving
- Fats: 15g per serving
- Fiber: 5g per serving
- Sugars: 2g per serving
- Sodium: 200mg per serving
Why You’ll Love This Smashed Brussels Sprouts
These Smashed Brussels Sprouts are not just simple and quick to prepare; they’re also packed with flavor and nutrition. The combination of crispy edges with a tender center offers a delightful texture that will have you craving more. They are the perfect side dish for a weeknight meal, yet fancy enough for entertaining guests. Drizzle on some olive oil, add a sprinkle of garlic and Parmesan, and you’ve got yourself something delectable that will turn even the staunchest veggie critics into adorers of this leafy powerhouse.
The Complete Cooking Journey
Making Smashed Brussels Sprouts is a delightful experience that brings the kitchen to life. The aroma of fresh garlic roasting in the oven intertwined with the nutty scent of Brussels sprouts is something to write home about. I invite you to join me in creating this culinary magic! Let’s transform these humble vegetables into a crispy, golden treat.
Ingredients:
- Brussels sprouts
- Olive oil
- Salt
- Pepper
- Garlic (optional)
- Parmesan cheese (optional)
Method:
Step 1: Preheat the Oven
Preheat the oven to 450°F (230°C). This high temperature will ensure that your Brussels sprouts become perfectly crispy.
Step 2: Prepare the Brussels Sprouts
Trim the ends of the Brussels sprouts and remove any yellow leaves. This will help them steam evenly and ensures you don’t end up with any off flavors.
Step 3: Boil the Brussels Sprouts
Boil the Brussels sprouts in salted water for about 5 minutes until tender. They should be soft enough to smash easily, but not mushy.
Step 4: Drain and Cool
Drain the Brussels sprouts and let them cool slightly. It’s important to allow them to cool so that you don’t burn your fingers while smashing.
Step 5: Arrange on a Baking Sheet
Place the cooked Brussels sprouts on a baking sheet. Make sure they’re spread out evenly to allow for even roasting.
Step 6: Smash the Brussels Sprouts
Using a potato masher or fork, gently smash each sprout until it’s flattened. This step creates little nooks and crannies for the olive oil and seasonings to adhere to.
Step 7: Add Oil and Seasoning
Drizzle with olive oil, and season with salt, pepper, and garlic if using. Toss them around a bit to ensure they are all coated nicely.
Step 8: Roast to Perfection
Roast in the oven for 20-25 minutes until crispy and golden. Keep an eye on them to ensure they don’t burn, as oven times can vary.
Step 9: Optional Parmesan Finish
If desired, sprinkle with Parmesan cheese during the last few minutes of baking. This adds an extra layer of flavor that elevates the dish.
Step 10: Serve Warm
Serve warm, and enjoy the delightful crunch and flavors!
Serving Suggestions & Pairings
These Smashed Brussels Sprouts pair beautifully with just about anything. Serve them alongside roasted chicken, grilled salmon, or even a hearty vegetarian dish like quinoa salad. For an interesting twist, try them atop a creamy polenta or alongside pasta for a robust meal.
Storage & Leftovers Guide
If you happen to have any leftovers (which I seriously doubt!), store them in an airtight container in the refrigerator for up to 3 days. Reheat in the oven to bring back that lovely crispiness—microwaving will just ruin the texture.
Kitchen Wisdom & Success Tips
- Choose smaller Brussels sprouts for a sweeter, more tender bite.
- Don’t skip the boiling step; it helps in achieving that perfect softness before roasting.
- You can make the smash even more irresistible by adding spices like smoked paprika or chili flakes for a kick.
Flavor Variations & Adaptations
Feel free to experiment with different toppings. Swap out the Parmesan for crumbled feta or a vegan cheese alternative if you prefer a plant-based option. You can even add crispy bacon bits for a savory crunch!
Reader Questions & Solutions
-
Q: Can I use frozen Brussels sprouts?
A: Absolutely! Just thaw them first and pat them dry to ensure crispiness. -
Q: What if I don’t have olive oil?
A: Any neutral oil like canola or avocado oil works just fine, or even melted butter for a richer flavor. -
Q: How do I make them spicier?
A: Add red chili flakes to the olive oil, or toss in some diced jalapeños before roasting. -
Q: Can I prep them ahead of time?
A: Yes! You can boil and smash the Brussels sprouts a day in advance and store them in the fridge until you’re ready to roast. -
Q: Can I add other vegetables?
A: Definitely! Sweet potatoes and carrots roast beautifully alongside Brussels sprouts. Just cut them to similar sizes for even cooking.
Wrapping Up
I hope this recipe for Smashed Brussels Sprouts inspires you to give these fabulous veggies a chance at your table. Their crispy, savory goodness will have you wondering why you hadn’t tried them sooner. Whether you’re serving them at a festive gathering or as a delightful side dish during the week, I guarantee they will steal the show! So gather your ingredients, grab a fork, and start smashing away—your taste buds will thank you!