
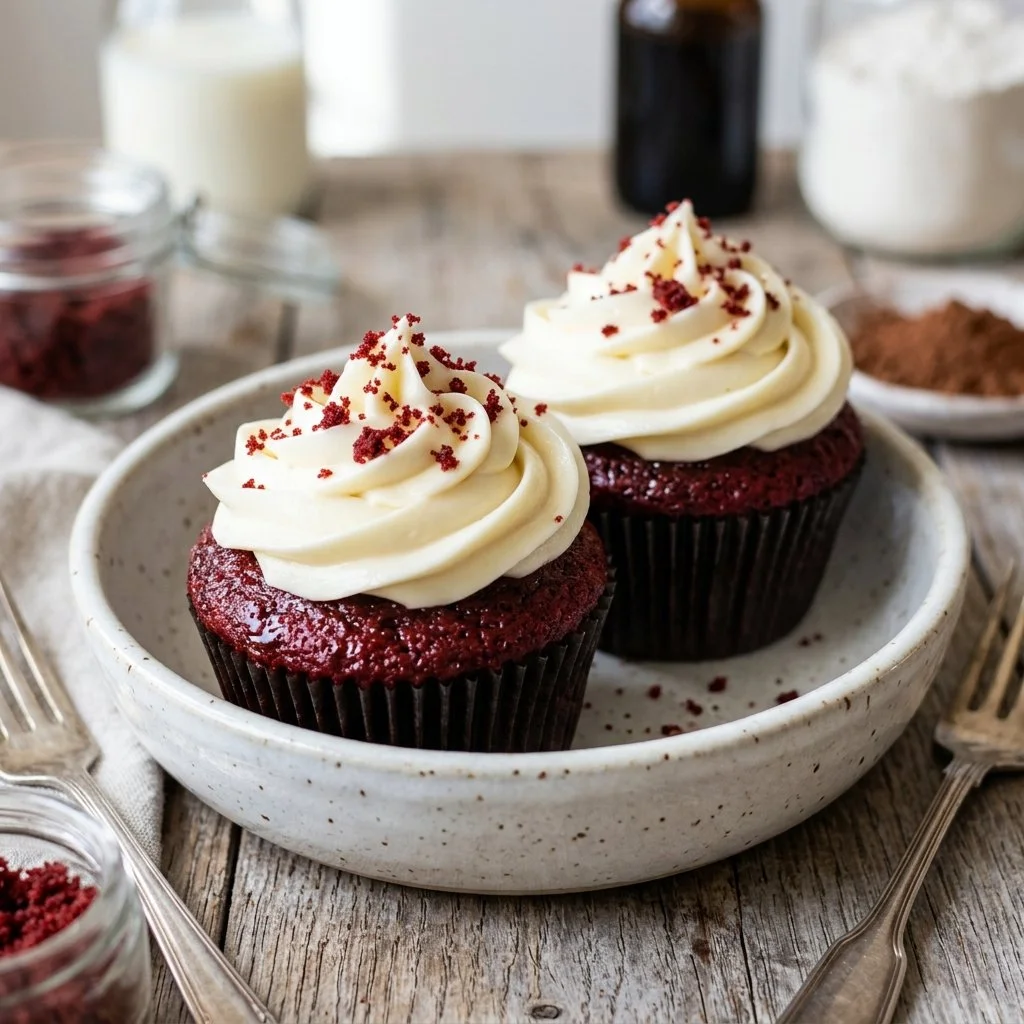
When I think of special occasions, my mind instantly drifts to those wonderfully vibrant Red Velvet Cupcakes, their crimson hue as striking as the joy they bring. From birthdays to anniversaries, these cupcakes have a magic of turning any gathering into a celebration. I remember the first time I baked them; my kitchen was filled with the enchanting aroma of vanilla and cocoa, and the anticipation of my family’s delighted reactions added an extra sprinkle of excitement. Every bite brought forth memories of laughter and love, which is exactly what baking should feel like.
Recipe Timing
- Prep Duration: 15 minutes
- Active Cooking: 20 minutes
- Total Duration: 35 minutes
- Portion Size: 12 cupcakes
- Complexity: Simple
Nutritional Recipe
- Calories per portion: 200
- Protein: 2g
- Carbs: 29g
- Fats: 10g
- Fiber: 0g
- Sugars: 18g
- Sodium: 300mg
Why You’ll Love This Red Velvet Cupcakes
These Red Velvet Cupcakes are not just a feast for the eyes; they’re deliciously soft and moist, with a lovely balance of sweetness and a hint of cocoa flavor. Topped with luscious cream cheese frosting, they embody indulgence with every bite. What’s more, their vibrant color makes them the pièce de résistance of any dessert table, not to mention they’re super easy to whip together!
The Complete Cooking Journey
Embarking on this culinary adventure is like stepping into a world where every whisk brings you closer to bliss. You’ll gather your ingredients, savoring the sounds of mixing and the aromas that fill your kitchen as your cupcakes bake to perfection. Each step is a chance to connect with the essence of home cooking, sharing delightful treats that create lasting memories.
Ingredients:
- 1 1/2 cups all-purpose flour
- 1 cup granulated sugar
- 1 teaspoon baking soda
- 1 teaspoon cocoa powder
- 1 teaspoon salt
- 1 cup vegetable oil
- 1 cup buttermilk
- 1 large egg
- 2 tablespoons red food coloring
- 1 teaspoon vanilla extract
- 1 teaspoon white vinegar
Method:
Step 1: Preheat the Oven
Preheat your oven to 350°F (175°C) and line a muffin tin with cupcake liners. Get excited, the deliciousness is about to begin!
Step 2: Combine the Dry Ingredients
In a bowl, mix together the flour, sugar, baking soda, cocoa powder, and salt. These ingredients come together to create the perfect base for your cupcakes.
Step 3: Mix the Wet Ingredients
In another bowl, whisk together the oil, buttermilk, egg, food coloring, vanilla extract, and vinegar. This vibrant mixture will give your cupcakes that signature flair.
Step 4: Combine the Mixtures
Now, combine the wet and dry ingredients, mixing until just combined. Be careful not to over-mix; a little lumpiness is perfectly fine here!
Step 5: Fill the Liners
Fill the cupcake liners about 2/3 full with the batter, ensuring even distribution for the best baking.
Step 6: Bake the Cupcakes
Bake for 18-20 minutes, or until a toothpick comes out clean. Your kitchen will soon be filled with the sweet scent of baking goodness.
Step 7: Cool Before Frosting
Let the cupcakes cool completely before frosting with your favorite cream cheese frosting. This awaiting moment of deliciousness is truly worth it!
Serving Suggestions & Pairings
Serve these cupcakes with a glass of cold milk or a scoop of vanilla ice cream. For a more festive touch, pair them with a rich chocolate sauce or a berry compote – sweet, tangy, and dreamy!
Storage & Leftovers Guide
These cupcakes are best enjoyed fresh but can be stored in an airtight container at room temperature for up to 3 days or in the fridge for up to a week. If you want to keep them longer, consider freezing them without frosting for up to 3 months. Just let them thaw before serving!
Kitchen Wisdom & Success Tips
- Always measure your ingredients accurately for the best results.
- Don’t skip the vinegar! It reacts with the baking soda for a light and fluffy texture.
- Allow the cupcakes to cool completely before frosting to prevent melting.
Flavor Variations & Adaptations
Feeling adventurous? Try substituting half the flour with whole wheat flour for a slightly nuttier flavor or add a hint of almond extract for an extra layer of deliciousness. You could even add chocolate chips or nuts for a fun texture!
Reader Questions & Solutions
-
Why do my cupcakes sink?
Ensure you’re not over-mixing the batter and that your baking soda is fresh. -
Can I use a different coloring?
Absolutely! You can experiment with natural food dyes or even omit it for a lovely chocolate cupcake. -
What if I don’t have buttermilk?
No problem! You can make your own by mixing milk with vinegar or lemon juice; let it sit for 5 minutes before using. -
How can I make these gluten-free?
Use a 1:1 gluten-free baking flour instead of all-purpose flour. -
Can I frost cupcakes ahead of time?
Yes, but it’s best to frost them the day you plan to serve to keep them fresh and delicious!
Wrapping Up
Baking these Red Velvet Cupcakes is not just an activity; it’s an experience, full of colors, laughter, and love. So, gather your ingredients and not only create something beautiful, but also something that fills your home with warmth and joy. Remember, every delicious bite is a celebration worth sharing! Happy baking!